COLOR2")
How To Make A Seed Butter Using Just 3 Ingredients At Home
If you’re passionate about gardening and zero-waste living, homemade seed butter is a delightful way to enjoy the fruits (or seeds) of your labor while minimizing waste. Seed butter is a fantastic spread that you can easily make at home using almost any seeds you have on hand. It’s fully natural, low-waste, and budget-friendly, allowing you to save money while enjoying a healthy treat! In this blog, we’ll dive into the benefits of seed butter, share a simple recipe for sunflower butter, and encourage you to get creative with your own versions.


Why Seed Butter?
Seed butter is more than just a tasty spread; it’s also packed with nutrients. Seeds are rich in healthy fats, protein, vitamins, and minerals, making seed butter a nourishing addition to your diet. Sunflower butter, in particular, is a powerhouse of nutrition. It’s loaded with vitamin E, which is great for skin health, and magnesium, which helps support a healthy heart and muscles. Plus, it’s a fantastic alternative for those with nut allergies.
By making your own seed butter at home, you’re not only cutting down on waste by using homegrown or locally sourced seeds, but you’re also avoiding the additives and preservatives often found in store-bought versions. It’s a win-win for your health and the environment.
Here’s a simple recipe for homemade sunflower butter, which you can easily customize with your favorite flavors.
Homemade Sunflower Butter Recipe
Ingredients:
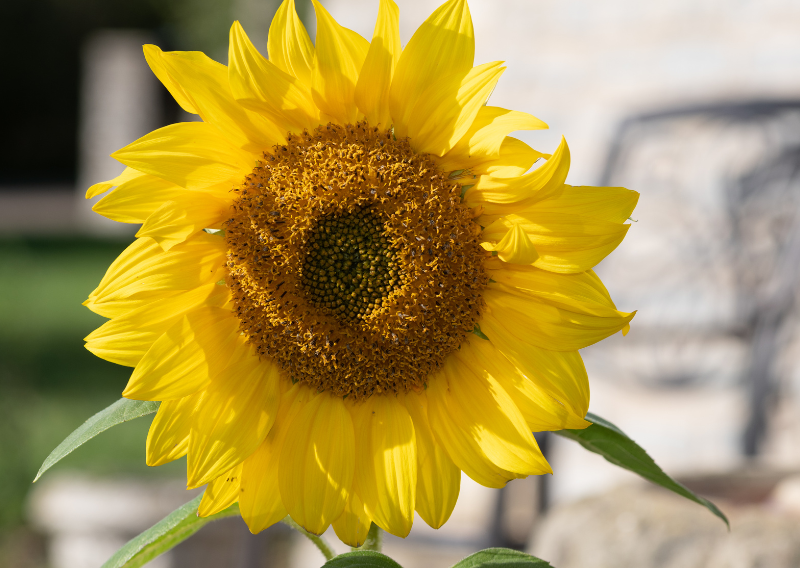
-1 Sunflower Head
-A bit of Olive Oil (optional for blending)
-Optional: Salt or Flavorings of Your Choice
Instructions:
1. Cut the sunflower head from the stem. 2. Ensure it’s fully mature, with the seeds starting to develop. Allow it to dry completely in a well-ventilated area, which might take a week or more.
3. Once the sunflower head is dry, remove the seeds (kernels) by gently plucking them. You can use your fingers or a fork to loosen them.
4. Place the kernels in a cloth apron and use a wooden roller or a mallet to gently crush them. This will help open them
5. Put the crushed kernels into a bowl of water. The seeds will separate from the kernel and settle at the bottom of the bowl.
6. Soak them for about 30 minutes.
After soaking, scoop out the kernels from the surface of the water. Drain the separated seeds, discarding the water.
7. Preheat your oven to 100°C (212°F). Spread the seeds evenly on a baking tray and roast them for about 5 minutes to enhance their flavor. After 5 minutes, turn off the oven but leave the tray inside for an additional 5 minutes to save energy. This will help ensure the seeds are thoroughly roasted but won’t burn.
8. Transfer the roasted seeds to a food processor or blender. Add a bit of olive oil, and then blend until the mixture reaches the desired consistency, resembling butter. You can add more olive oil if you prefer a thinner consistency.
9. If you like, you can add a pinch of salt or any other flavorings of your choice at this stage. Blend again to incorporate the flavor.
10. Transfer the homemade sunflower butter to a clean, airtight container. Store it in the refrigerator, and it should keep for several weeks.
Embrace Zero-Waste Living
Making your own seed butter is just one way to embrace a zero-waste lifestyle. By using seeds from your garden, you’re reducing food waste and creating something delicious and nutritious. Plus, the process of making seed butter can be a fun and rewarding experience, allowing you to connect with your food on a deeper level.
So, why not give it a try? Get creative with different seeds, experiment with flavors, and enjoy the satisfaction of making something truly homemade. Seed butter is more than just a spread; it’s a step toward a healthier, more sustainable way of living.