 COLOR2")
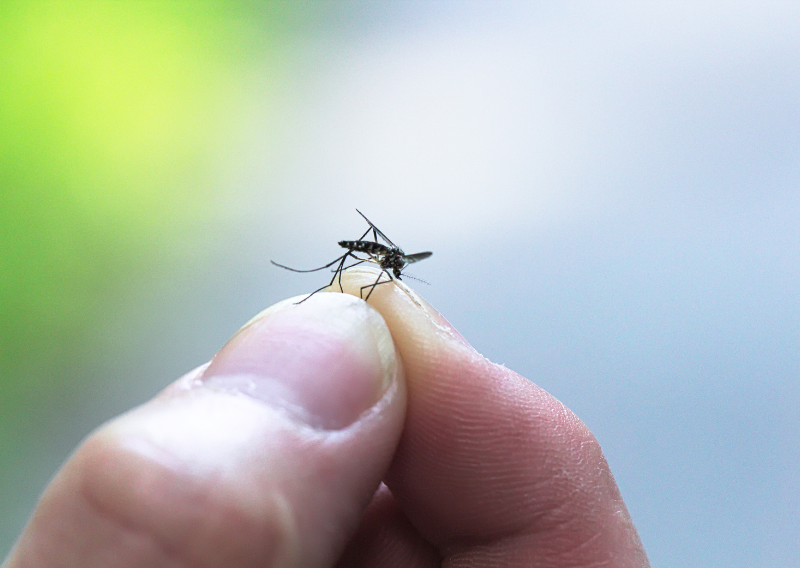
DIY All-Natural Mosquito Repellent: Effective and Easy to Make


Why Choose DIY?
In our world now where we can easily buy anything and almost everything is available, there’s something truly special about doing your own thing such as mosquito repellent. Nature offers us everything we need if we know how to cultivate and use its gifts. By making your own spray, you’re not only avoiding the potentially harmful ingredients found in commercial products, but you’re also embracing a more sustainable lifestyle.
Meet Santolina: Your Mosquito-Repelling Hero
Santolina, often known as cotton lavender, is a commonly found plant that thrives in many gardens. Its beautiful silvery leaf is not only visually appealing but also contains natural oils that repel mosquitos. By maximizing the power of this plant, you may create a mosquito spray that is both very powerful and environmentally friendly.
What You’ll Need
- 75 grams of fresh Santolina chamaecyparissus leaves (or 37.5 grams dried)
- 150 ml of witch hazel
- 150 ml of distilled water
- Essential oils (optional), such as eucalyptus, citronella, or tea tree oil
- A spray bottle
Step-by-Step Guide to Your DIY Mosquito Repellent Spray
- Start by finely chopping 75 grams of fresh Santolina leaves or crushing 37.5 grams of dried leaves. This will help release the plant’s natural oils, which are key to the spray’s effectiveness.
- Place the prepared leaves in a jar and cover them with 150 ml of witch hazel. Seal the jar tightly and let it sit for 2-3 weeks. Be sure to shake the jar every few days to help the infusion process along.
- After the infusion period, strain the liquid through a fine mesh sieve or cheesecloth to remove the plant material. What you’re left with is a potent Santolina extract.
- Mix the strained liquid with 150 ml of distilled water. This dilutes the extract to a skin-safe level while still keeping it effective against mosquitoes.
- If you’d like to give your spray an extra boost, add 30-60 drops of essential oils. Eucalyptus, citronella, and tea tree oil are all excellent choices for repelling mosquitoes.
- Transfer your mixture to a spray bottle. Be sure to label it with the contents and the date, so you know when it was made.
- Shake the bottle well before each use. Spray it on exposed skin, avoiding the face and eyes. Reapply as needed to keep those mosquitoes at bay.
Tips for Success
- Test for Skin Sensitivity: Before using the spray all over, try it on a small area of the skin to make sure you don’t have any sensitivities to the ingredients.
- Storage: Keep your spray in a cool, dark place. It should last for 3-6 months, giving you plenty of time to enjoy your mosquito-free summer!


")


")


