How To Grow Organic Berries: A Step-by-Step Guide

How To Grow Organic Berries: A Step-by-Step Guide

There’s magic nestled within raspberries and blackberries, a secret that not everyone knows. These aggregate fruits, so plump and inviting, are actually composed of dozens of tiny fruits growing in harmony. Each of these adorable little bumps, or ‘drupletes’, owes its existence to a diligent bee landing on the berry flower, time and time again.

There is no question that these organic berries are nutritious and delicious. We love eating them fresh and it’s also great when you make them jam and smoothies that are perfect for the warm weather. You can also store your berries in the fridge and you can always preserve them for a longer shelf life by dehydrating them or freezing them (check out this blog to learn more).

These berries also pack a punch when it comes to health benefits. So, let’s take a minute to appreciate why raspberries and blackberries deserve a prime spot in your garden and your diet.
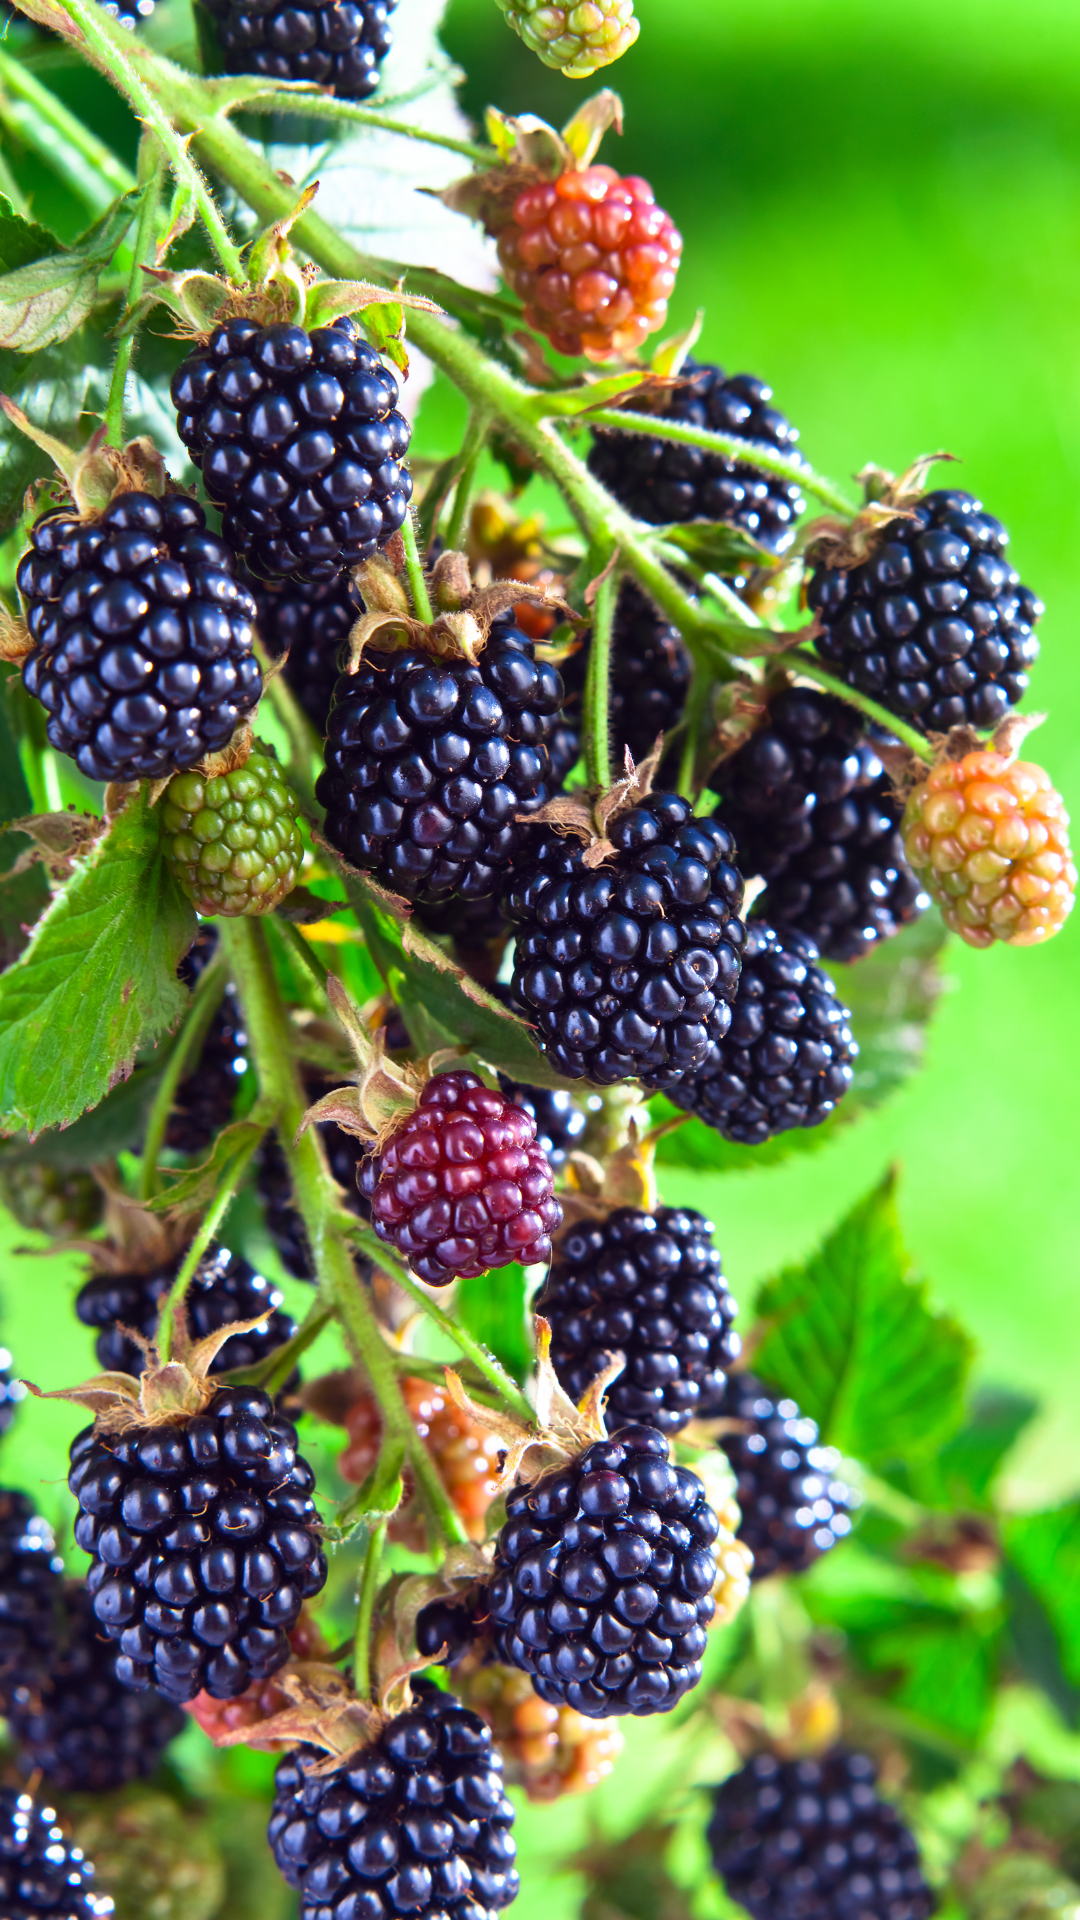
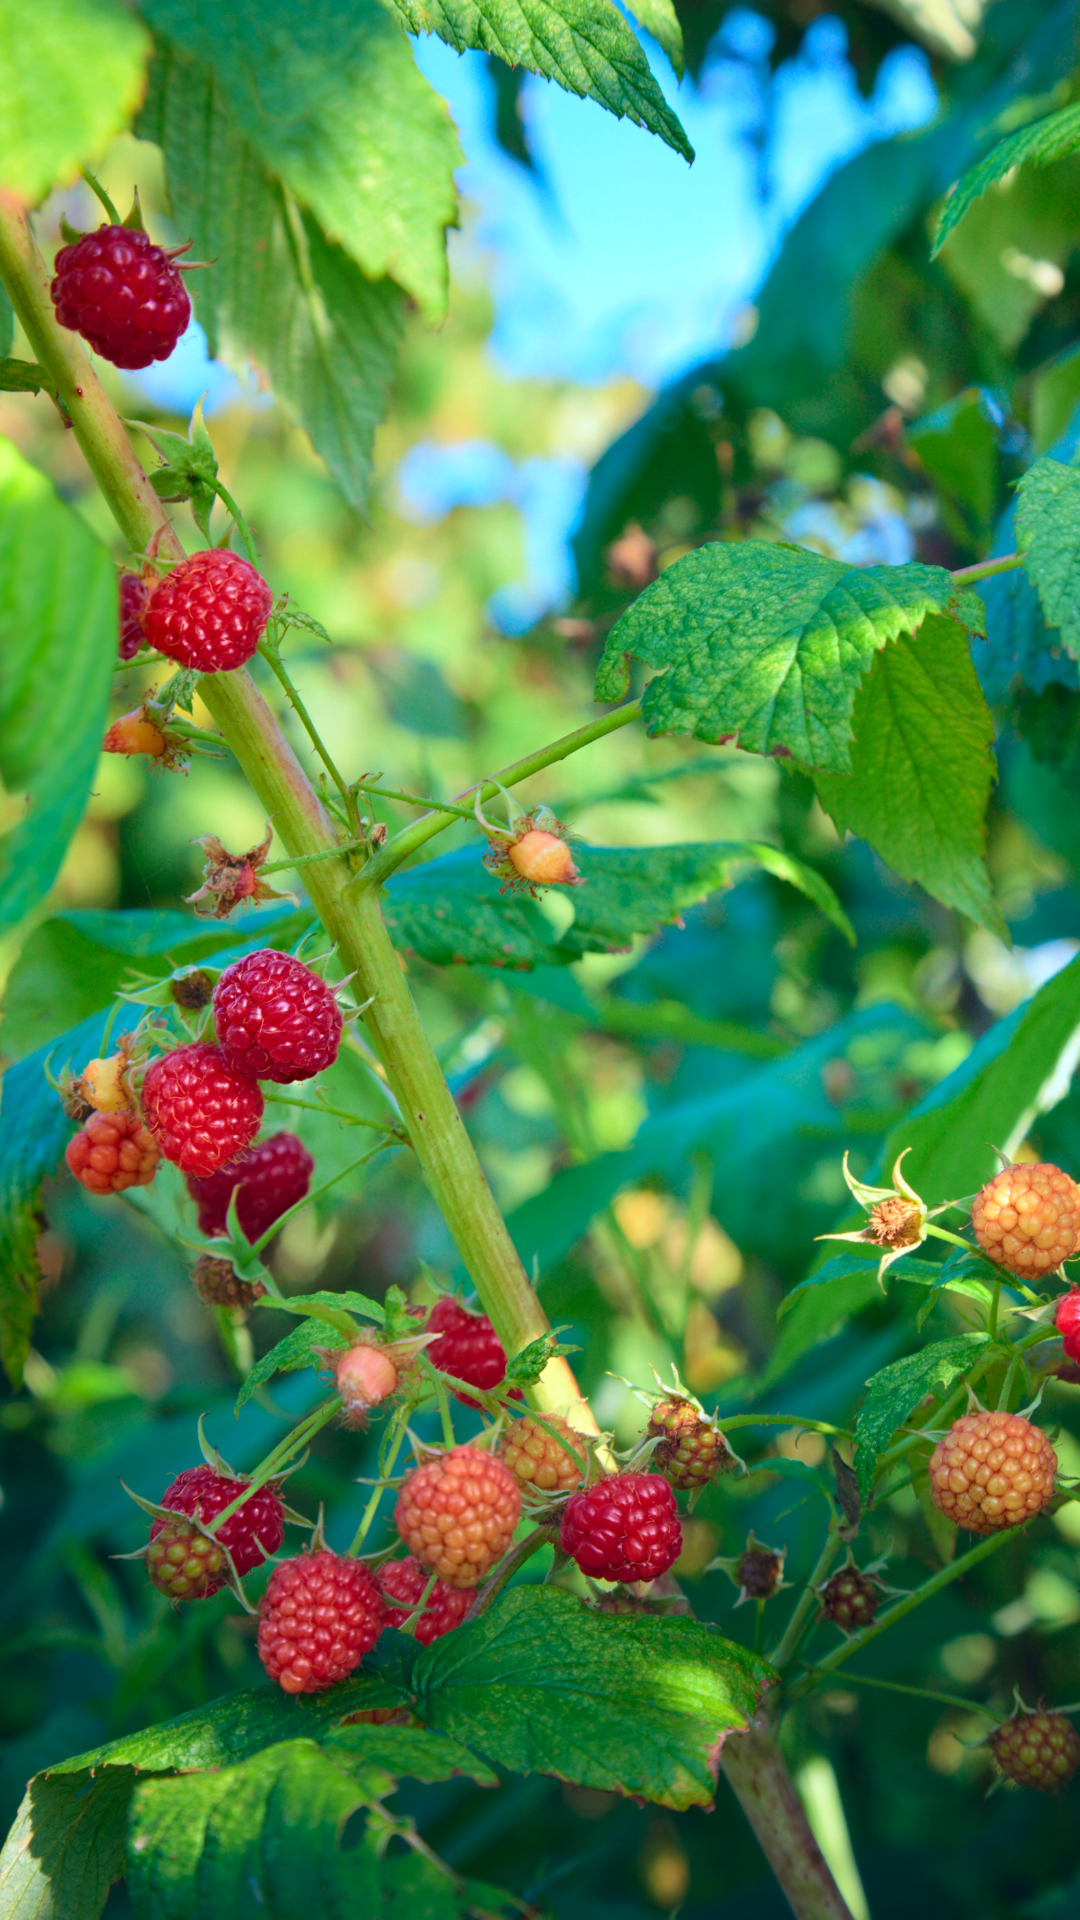
Raspberries and Blackberries: A Symphony of Health Benefits

Before we get our gardening gloves on and start planting, let’s take a look at the rewards these berries offer. These delightful fruits aren’t just a treat for your taste buds. They’re nutrient powerhouses, teeming with essential nutrients like antioxidants, vitamins C and K, dietary fiber, and manganese. These all play critical roles in promoting overall health, providing digestive support, and even aiding in weight management.

What’s more, research indicates that these juicy berries could even help mitigate the risk of chronic diseases, including heart disease and cancer. So they’re not just tasty, they’re amazing for your health!

    Growing Organic Raspberries

    Raspberries are wonderfully accommodating plants. They’re relatively easy to grow and can flourish in a variety of climates. To kickstart your journey as a raspberry grower, find a sunny spot in your garden with well-drained soil. The best time to plant raspberry bushes is in early spring, ideally spaced about 2-3 feet apart.

    Don’t forget to enrich the soil with organic matter, as long as they mulch, water, and compost are fine. Regular watering, particularly during dry spells, and mulching around the base of the plants will help retain moisture and keep pesky weeds at bay.

    Growing Organic Blackberries

    Much like their raspberry cousins, blackberries are a joy to grow. They thrive under full sun and in well-drained soil. The optimal time to plant blackberry bushes is in early spring or late fall, with each bush requiring about 3-5 feet of space.

    A little pruning goes a long way in promoting air circulation and fruit production. Deep, but infrequent, watering works best for these plants. And just like raspberries, mulching around the base will help maintain soil moisture and control weeds.

    The Berry Best of Gardening

    Growing organic berries like raspberries and blackberries isn’t just a hobby, it’s an experience – rewarding, nutritious, and delicious. These fruits are more than just a treat for your senses; they’re a treasure trove of nutrients.

    By following these simple gardening tips, you can look forward to a bountiful harvest of organic berries right in your own backyard. Try planting them, and get ready to taste the literal fruits of your labor.

    Happy growing!

    Maximize Your Harvest: How to Grow Zucchini Vertically (Perfect for Small Spaces!)

    Maximize Your Harvest: How to Grow Zucchini Vertically (Perfect for Small Spaces!)

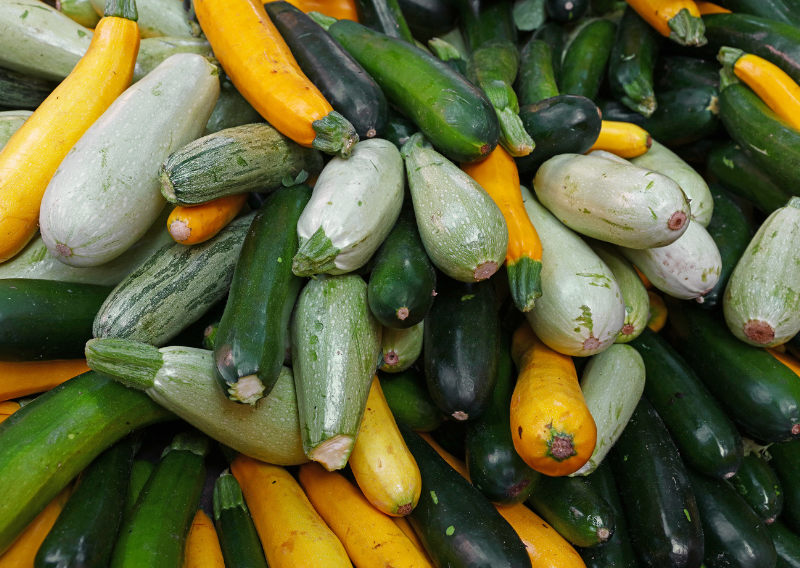
    Have you heard that Zucchini can be planted vertically? I know, it’s a bit weird but definitely doable and recommended.

    Zucchini, or as our Italian friends call it, ‘zucchine’ (plural) and ‘zucchina’ (singular), is a versatile vegetable that can be grown in a variety of ways. But today, we’re going to let you in on a little secret that might just revolutionize your green space: growing zucchini vertically. Yes, you read that right!

    Our small garden in London saves a lot of space because we’re growing zucchini vertically. This is also the perfect vegetable to grow if you’re a beginner (I have a separate blog where I discussed the flowers of zucchini/courgettes but for this blog let’s focus on how to grow them vertically).

    The Benefits of Vertical Gardening

    Why should you consider growing your zucchini vertically? Firstly, it adds a unique aesthetic appeal to your garden. But more importantly, it has some significant practical benefits too:

    1. Pest Protection: By growing zucchini off the ground, you’re making it tricky for pesky pests like slugs and snails to munch on the leaves and fruits.

    2. Disease Prevention: Vertically grown zucchinis are less likely to contract common fungal diseases such as the dreaded powdery mildew.

    All you need to kickstart your vertical zucchini garden is a sturdy support of any kind. Just make sure it’s strong enough to hold the weight of the plant as it flourishes.

    Growing Zucchini Vertically

    One of the most exciting aspects of growing zucchini is the opportunity to plant it vertically. Vertical gardening is a space-efficient method that allows you to grow more plants in a smaller area. To plant zucchini vertically, follow these simple steps:

    • Choose a Vertical Support- Select a sturdy trellis, fence, or stake that can support the weight of the growing zucchini plant.
    • Prepare the Soil- Zucchini thrives in well-draining, fertile soil. Amend the soil with compost or aged manure to provide essential nutrients for healthy growth.
    • Planting- Plant zucchini seeds or seedlings at the base of the vertical support. Space them according to the variety’s recommendations, usually around 2-3 feet apart.
    • Training the Vine- As the zucchini plant grows, gently guide the main vine towards the vertical support. Use soft ties to secure the vine to the support, allowing it to climb upwards.
    • Maintenance- Water the plant regularly, ensuring the soil remains moist but not waterlogged. Mulching around the base of the plant can help retain moisture and suppress weeds. Additionally, fertilize the plant with a balanced fertilizer to promote healthy growth and fruit development.
    • Harvesting- Harvest zucchini when they are young and tender, usually around 6-8 inches in length. Regular harvesting encourages the plant to produce more fruit.

    Tips for Successful Vertical Gardening

    To ensure your vertically grown zucchini thrives, here’s a handy tip: prune the bottom leaves. This simple act encourages the plant to redirect its energies into the production of new leaves and fruits, leading to a more bountiful harvest.

    So why not take your gardening skills to new heights (literally!) and give vertical zucchini gardening a shot? By planting zucchini vertically, you can enjoy a bountiful harvest while conserving valuable garden space. With these helpful tips and a little bit of love, your zucchini plants will be reaching for the skies in no time.

    Happy growing!

    Discover the Magic of Broad Beans Tofu: A Nutritious Delight for Your Kitchen

    Discover the Magic of Broad Beans Tofu: A Nutritious Delight for Your Kitchen

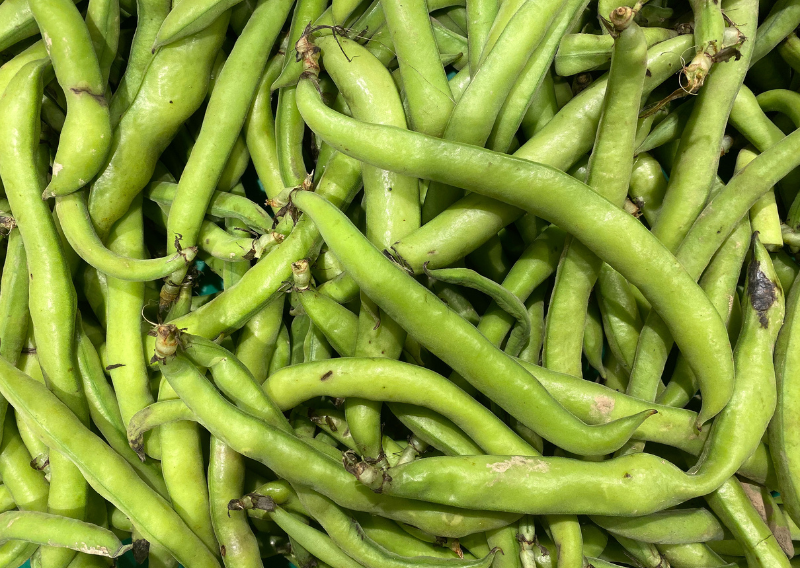
    Who else here loves broad beans as much as I do? Broad beans are special to me because I have a vivid memory of warm summer afternoons spent in my grandmother’s garden, plucking those bright green pods from their stems. It was a fun memory, and broad beans have always held a special place in my heart and our kitchen.

    One of my favorite dishes is called broad beans tofu and I’ll be sharing how you can cook it at home. This silken tofu is the perfect side dish or appetizer, and it’s super easy! You can make it with dry legumes by soaking them overnight or fresh, and it’s a great alternative way to eat them and have fun in the kitchen, reinventing the way you cook them, especially if you produce a lot.

    How To Cook Broad Beans Tofu

    Ingredients:

    • 300/350 g of Broad beans (or any legume)
    • 300 ml water
    • 1 tbsp. of tahini (optional)
    • 1/2 teaspoon of salt
    • 2 tbsp. of cornstarch

    Sauce:

    • 1 tbsp. of soy sauce
    • 1tablespoonp of any vegetable oil
    • 1 clove garlic
    • 1 pinch of chili flakes
    • 1 tsp. of maple syrup

    Garnish:

    • crushed peanut
    • sesame seeds
    • calendula flower
    • garlic chives
    • fresh mangetout peas

    Follow these simple steps

    1. Prepare 300–350 g of Broad beans (or any legume) and carefully remove the beans from pods
    2. Once removed, put the beans inside the blender and add 300 ml water
    3. Blend until it thickens, then strain and press it to remove the solids, leaving you with a smooth texture
    4. Transfer the blended broad beans to a pan and add 2 tablespoons of cornstarch and 1 tbsp of tahini (optional). Bring it to a boil until it leaves you with a broad beans milk
    5. Transfer the broad beans milk into a container and let it cool in the fridge
    6. Wait for around 6 hours or until the broad beans milk becomes completely solid and diced cut it into small rectangular pieces

    For the sauce, mix 1 tbsp of soy sauce, 1 tbsp of any vegetable oil (I used olive oil), and 1 tsp of maple syrup in a small container, chop 1 clove of garlic, and add 1 pinch of chili flakes. Mix them all together.

    Enjoy this recipe by serving the cut tofu with drizzled sauce. You can also add garnish on top with crushed peanuts, sesame seeds, calendula flower, garlic chives, and fresh mangetout peas.

    Tip: Garnish with what you like! If you’d like your tofu more firmer, boil it for longer and add a bit more cornstarch.

    Shelf Life and Proper Storage

    Once you’ve made your broad beans tofu, it’s important to store it properly to maximize its shelf life and maintain its quality. Here are some tips.

    • Refrigeration: Store your broad beans tofu in an airtight container. It will stay fresh for up to one week.
    • Freezing: If you want to extend its shelf life, you can freeze the tofu. Cut it into portions, wrap them individually, and place them in a freezer-safe bag or container. Frozen broad beans tofu can last for up to three months.
    • Handling: Always use clean utensils and surfaces when handling tofu to prevent contamination and spoilage.

    Broad beans tofu is a delicious and nutritious alternative to traditional tofu, ideal for balancing your diet and making the most of your garden harvest. With its numerous health benefits, ease of preparation, and proper storage tips, you may enjoy this unique tofu variety all year. So, why not try broad beans in your garden or kitchen? You won’t believe how tasty the results are!

    Happy cooking!

    Pickled Cucumbers: A Healthy Snack and Easy Steps To Follow

    Pickled Cucumbers: A Healthy Snack and Easy Steps To Follow

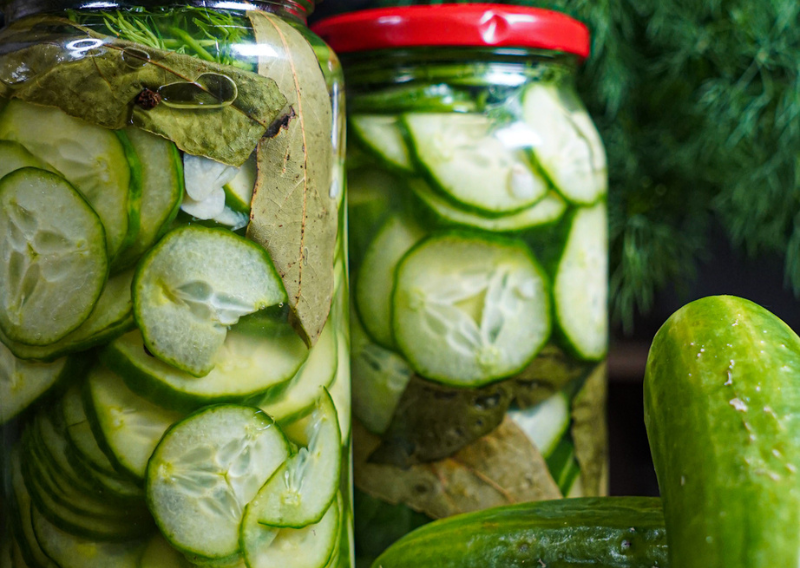
    I’m going to let you in on a little family secret: I have a really old book for recipes from my grandma which is full of fermenting and preserving tips and helped me a lot to learn how to enjoy freshly harvested vegetables all year round! This book, filled with the wisdom of generations, is my go-to guide for preserving and fermenting fresh produce. It’s helped me keep my pantry stocked all year round with the delights of each season’s harvest. Today, I’d love to share with you a favorite gem from this book: pickled cucumbers.

    Not Just a Tasty Snack: The Health Benefits of Cucumbers

    Beyond their refreshing taste, cucumbers are a powerhouse of nutrients. They are low in calories yet high in essential vitamins and minerals, like vitamins K, C, potassium, and fiber. Cucumbers are also incredibly hydrating, thanks to their high water content, making them a perfect snack choice during sweltering summer months.

    They are also full of antioxidants that help reduce inflammation and boost overall health. So, each time you crunch into a pickle, remember, that you’re not just indulging in a tasty treat; you’re also nourishing your body!

    The Art of Pickling: A Simple Guide to Preserving Cucumbers

    Roll up your sleeves and grab your apron; it’s time to dive into pickling! Here’s a straightforward recipe to get you started:

    Ingredients:

    • 3 x cucumbers (we used the “pony” variety)
    • 600 ml water
    • 600 ml vinegar
    • 3 x tsp salt (10g per cucumber)
    • 150g sugar
    • Your choice of spices
    • 2 tbsp peppercorns
    • 3 x garlic cloves
    • 3 x stems of dill
    • 4 x bay leaves

    Steps:

    1. Combine 600 ml of water and 600 ml of vinegar in a saucepan.
    2. Add 150g of sugar and 3 tsp of salt to the mixture.
    3. Bring the mixture to a boil for 2-3 minutes, then allow it to cool for 10 minutes.
    4. While the mixture cools, slice your cucumbers and garlic cloves.
    5. Thoroughly clean your jars and start packing them with the cucumber slices.
    6. Add in your favorite spices (I love including black pepper and dill for a traditional taste).
    7. Pour your cooled mixture into the jars, ensuring the cucumbers are fully submerged, and seal immediately.

    Pickling: A Labor of Love

    The art of pickling cucumbers goes beyond just preserving them; it’s about transforming their flavor into something truly extraordinary. The beauty of pickling lies not just in the end product but in the creative process itself. Feel free to experiment with different herbs and spices to create a unique flavor combination that suits your palate. From classic dill pickles to adventurous spicy bread and butter pickles, the possibilities are infinite!

    Pickling cucumbers also provides the joy of savoring your garden’s bounty long after the growing season has ended. Each crunch of a pickle carries with it a sense of accomplishment and the sweet, satisfying taste of your own gardening success.

    Try this recipe that I learned from my grandma, I’m sure you’ll love this!

    Happy growing!

    Supercharge Your Health: Fermented Honey and Garlic with Powerful Benefits

    Supercharge Your Health: Fermented Honey and Garlic with Powerful Benefits

    We started to take care more of our health a few years ago and we discovered that there are many medicinal plants that we can plant in our garden. And though there are a lot of options, one of our favorites is the fermented natural antibiotic made from honey and garlic. These two are very nutritious, and both are distinguished for their individual health benefits. When combined and fermented, they create a powerhouse of natural medicine that can boost your health in remarkable ways.

    So, if you’re like us and want to try the power of natural medicine, this blog will help you create a fermented natural antibiotic that you can store at home for years.

    Why Opt for Natural Medicine?

    Natural medicine, obtained from plants, herbs, and other natural sources, is often gentler on the body. It works in harmony with your body’s natural processes, promoting overall health and well-being.

    What are the benefits of fermented honey and garlic for your health?

    1. Immune Support: Garlic is known for its immune-boosting properties, thanks to its high concentration of allicin—Allicin can inhibit the proliferation of both bacteria and fungi in your body boosting your immune system. When combined with the antimicrobial properties of honey, this duo becomes a great shield against infections and seasonal flu.

    2. Heart Health: Both honey and garlic have been linked to cardiovascular benefits. Garlic helps lower cholesterol levels and blood pressure, while honey’s anti-inflammatory properties promote heart health. Together, they support cardiovascular function and reduce the risk of heart disease.

    3. Digestive Health: Fermented honey and garlic act as natural prebiotics, nourishing the beneficial bacteria in your gut. This promotes a healthy digestive system, reduces gastrointestinal discomfort, and enhances nutrient absorption.

    4. Respiratory Support: Garlic’s antibacterial and antiviral properties make it a potent ally against respiratory infections such as colds and flu. When combined with the soothing properties of honey, this remedy can help relieve coughs, congestion, and sore throats.

    5.  Antioxidant Boost: Both honey and garlic are rich in antioxidants, which help combat oxidative stress and free radical damage. It reduces inflammation and a lower risk of chronic diseases.

    How to combine honey and garlic to ferment them and create your own natural medicine

    Ingredients:

    • 1-2 bulbs of Organic Garlic
    • 1 jar of raw organic Honey
    • 1 glass jar

    Step-by-step procedure:

    1. Peel and crush your garlic! When you crush your garlic it produces allicin. (Allicin is the defensive mechanism of Garlic when he thinks it’s attacked.)
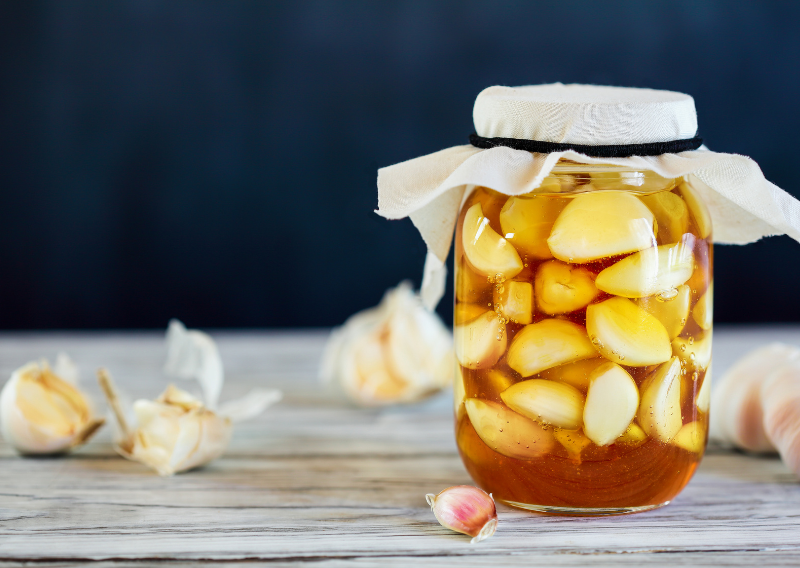
    2. Fill up 2:3 of the jar with your peeled garlic and cover with honey. Mix well until completely coated.
    3. Leave a headspace as it will bubble and ferment causing an explosion if completely full. (If you are worried about botulism, it doesn’t survive under 4.6 pH so just test it and add a few drops of vinegar if it’s over 4.6.)
    4. Optional: You can add more honey later if the jar looks quite empty. (The liquid will be pulled out of the Garlic thanks to the osmotic process of the honey and the water in the garlic. The mixture will get super watery in a few days.)

    Quick Note: 

    The longer you leave it to ferment, the better the texture and flavor. Some people even claim to let it ferment for years! But you don’t have to wait that long because you can start consuming it after 1 month. Take 1 spoon a day every day to boost your immune system!

    As we can see, creating your own fermented honey and garlic is simple and rewarding. With just 2 main ingredients and a little patience, you can enjoy a homemade natural antibiotic that tastes well and protects your body. So, why not try a natural medicine today? Your body will love it!

    0
      0
      Your Cart
      Your cart is emptyReturn to Shop