About Us

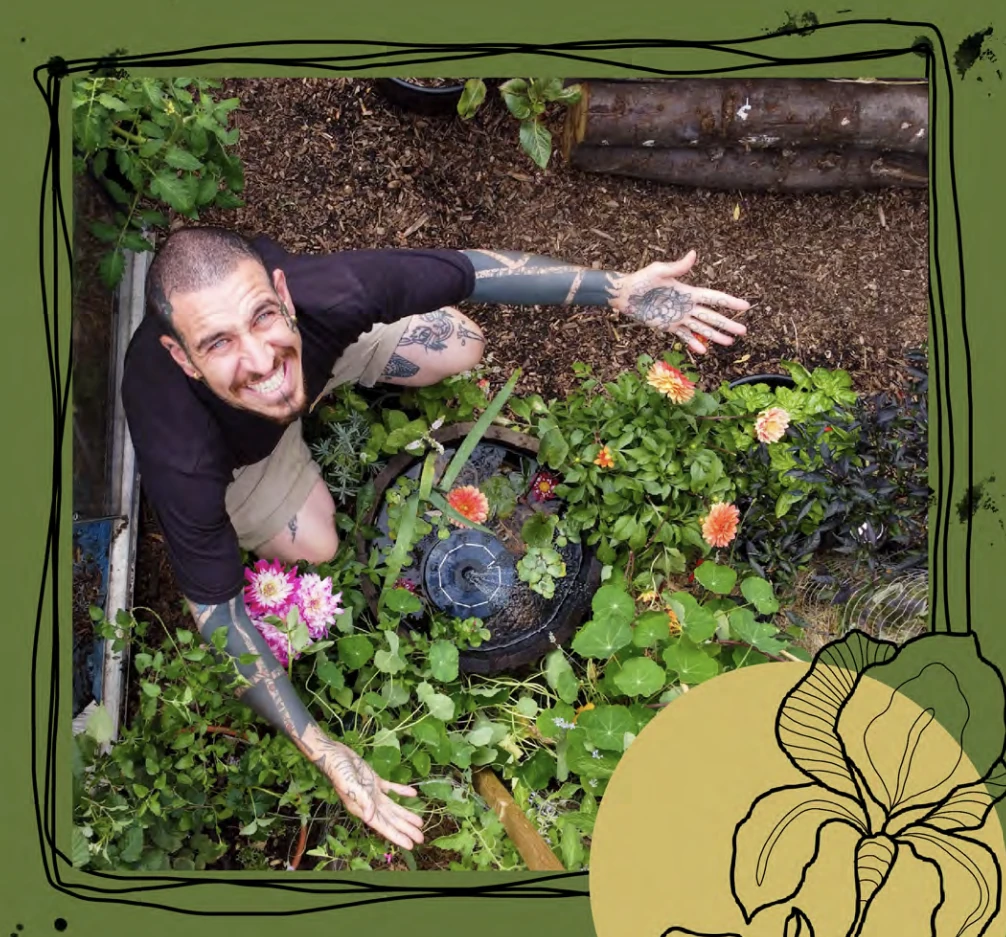
As a couple who are immensely charmed with the natural environment, our aim goes beyond simple appreciation — we are passionate about encouraging people to embrace a more self-sufficient lifestyle, both in the kitchen and in the garden. Our motivation comes from a desire to assist people in reducing their environmental footprint and cultivating a peaceful relationship with our world.
Together, we will go on this adventure to inspire and assist others around us, offering insights and practical techniques for decreasing waste, producing your own food, and developing sustainable habits that benefit both the environment and your personal well-being. By combining the art of gardening with the culinary magic of the kitchen, we hope to develop a community of mindful individuals dedicated to creating positive, significant changes.
LATEST PRODUCTS


LATEST POSTS
5 years of spicymoustache 🎂
Thank you to every single one of you from the bottom of our hearts ♥️
#lowwaste #zerowaste #spicymoustache

5 years of spicymoustache 🎂
Thank you to every single one of you from the bottom of our hearts ♥️
#lowwaste #zerowaste #spicymoustache
From a single cup of almonds, you can create smooth, wholesome plant‑based milk and repurpose the pulp into delightful, nourishing energy bites. It’s an effortless, waste‑free process. Gentle on your budget, your time, and the planet.
ALMOND MILK 🥛🌱
1 x cup almonds (soaked vernight)
2 x cups water
Dates or maple syrup for a sweet flavour
- Blend all ingredients and strain with a muslin into a bowl .
- Store it for up to 4-5 days in the fridge
ALMOND PULP ENERGY BALLS 🍡🍫🥥
1 x cup almond pulp
3 x tbsp peanut butter
1/3 x cup maple syrup
2 x tbsp coconut flour
1 x chocolate bar
Pinch of salt
Optional:cocoa powder, shredded coconut
- Add all ingredients in the blender and mix.
- Roll them into a ball .
- Roll them in cocoa powder or shredded coconut for a nice coating touch 🥥🍫
- Store them in the fridge for up to 5 days or freeze them .
#zerowaste #almond #plantbased
The easiest way to make these insanely delicious gyoza at home 🥟
✨ Dough (Gyoza Wrappers)
Ingredients:
* 2 cups all-purpose flour
* 125 ml warm water
* 1 pinch of salt
Method:
1. In a mixing bowl, combine the flour and salt.
2. Gradually add warm water while mixing.
3. Knead the dough for about 10 minutes. It will feel dry at first, but as you knead, it will come together.
4. The dough should be firm and slightly dry, not soft—this makes it easier to stuff and seal the gyoza.
5. Cover and let rest for 30 minutes before rolling and shaping.
🥬 Gyoza Filling (Vegan)
Ingredients:
* 1 cup red cabbage, finely shredded
* 1 block firm tofu, crumbled (approx. 200 g)
* 2 cloves garlic, minced
* 1 small onion, finely chopped
* 1 tbsp soy sauce
* 1 tsp sesame oil
* Salt and black pepper, to taste
Method:
1. In a pan, heat sesame oil and sauté the onion and garlic until soft.
2. Add the shredded red cabbage and cook for 2–3 minutes.
3. Stir in the crumbled tofu and soy sauce. Season with salt and pepper.
4. Cook the gyoza until the mixture is dry (no excess moisture).
5. Let the filling cool before using.
🌶️ Spicy Peanut Chilli Oil
Ingredients:
* ½ cup hot oil (vegetable or neutral oil, heated until shimmering)
* 1 tbsp peanut butter (smooth)
* 1 tbsp red chilli flakes
* 1 fresh red chilli, finely diced
* 2 cloves garlic, minced
* 1 tsp sesame seeds
* 1 tbsp finely chopped chives
* 2 tbsp soy sauce
Method:
1. Place the peanut butter, chilli flakes, fresh chilli, garlic, sesame seeds, chives, and soy sauce into a heat-resistant bowl.
2. Carefully pour the hot oil over the mixture—it should sizzle.
3. Stir to combine and let it sit for a few minutes to infuse.
4. Use immediately or store in a jar for up to a week.
Place the gyoza In a pan and cook the base until crispy then add 100-200ml water and cover with the lid until all the water evaporates 🥟🥬🌶️
#gyoza #餃子 #dumplings #japanesefood #asmr
With just a few simple steps, you can turn fresh grapes into sweet, homemade raisins 🍇
📝 Ingredients (makes ~20–25 small clusters)🍫🍇
* 500 g fresh seedless grapes
(yields ~150–200 g raisins once dehydrated)
* 150 g dark chocolate, no sugar added
(70% or higher cacao content recommended)
* ½ tsp flaky sea salt (optional, for topping)
🍇 Steps
1. Wash and remove all stems from your seedless grapes.
– If using grapes with seeds, remove them manually before continuing.
2. Blanch grapes for 1 minute in boiling water.
3. Transfer immediately to an ice bath to stop the cooking.
4. Dry the grapes thoroughly with a clean towel.
5. Spread the grapes in a single layer on dehydrator trays.
6. Set your dehydrator to 57°C (135°F).
7. Dry for 24 to 36 hours, or until the grapes are chewy, slightly sticky, and soft.
8. Let cool completely before coating in chocolate.
9. Melt 150 g dark chocolate in a double boiler over low heat, stirring occasionally.
10. Add the raisins and mix until evenly coated.
11. Using a spoon, scoop small teaspoon-sized clusters onto a parchment-lined tray.
12. Sprinkle each cluster with a pinch of flaky sea salt while still warm (optional).
13. Refrigerate the tray for 15–20 minutes or until the chocolate has set.
14. Store clusters in an airtight container in the fridge for up to 2 weeks if they last 😏
NOTE: you can use an oven at the lowest setting or sun dry the grapes for a few days.
HASHTAGS:
#raisins #grapes #homemadefood #easyrecipes
Was it all a dream? Turns out… not really. I “woke up” in NYC thanks to @hayday
If you missed the NYC event, don’t worry 😉 You’ll have another chance to get IRL crops from the Hay Day stand in San Francisco on July 26th and in Chicago on August 3rd!
#dailyroutine #asmr #gardening #haydaypartner

Was it all a dream? Turns out… not really. I “woke up” in NYC thanks to @hayday
If you missed the NYC event, don’t worry 😉 You’ll have another chance to get IRL crops from the Hay Day stand in San Francisco on July 26th and in Chicago on August 3rd!
#dailyroutine #asmr #gardening #haydaypartner


