Protect Your Plants from Frost: 3 Easy DIY Solutions

Protect Your Plants from Frost: 3 Easy DIY Solutions

It’s good to be prepared and be aware ahead of time before the cold weather so you won’t be carried away moving plants outdoors and lose many plants due to unexpected frost waves. There are many ways to protect your plants and make sure they won’t perish due to weather and it’s also extremely cheap and easy! I learned this the hard way, losing some favorites to a late spring frost that caught me off guard. Since then, I’ve been on a mission to find simple, effective ways to shield my plants from the chill. Today, I’m excited to share three DIY solutions that not only protect your plants but also save you money and reduce waste.

DIY System 1: Garden Bed Arch

One of the most effective and visually appealing methods I’ve discovered involves creating sturdy arches over your garden beds. Here’s what you’ll need:
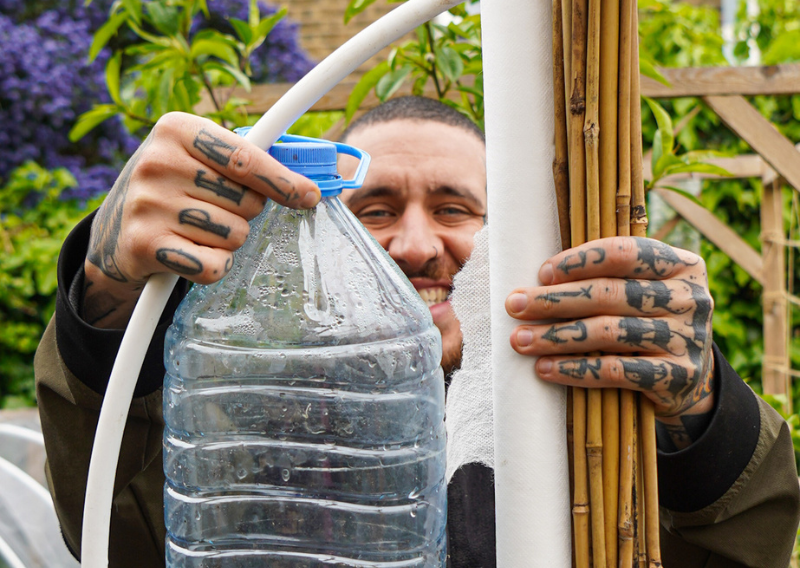
  1. Bamboo sticks
  2. Flexible PVC pipe
  3. Fleece
  4. Cable ties

    Instructions:

1. Place bamboo sticks at each corner of your garden bed. Insert flexible PVC pipe over the bamboo to create a gentle arch, ensuring it’s secured firmly into the ground.

2. Drape fleece over the arches, securing it with cable ties. This protective layer acts as a shield against frost while allowing sunlight and moisture to reach your plants.

Why You Should Try It:

This method not only provides reliable protection but also enhances the aesthetics of your garden. Plus, it’s budget-friendly and will cost a little to cover four garden beds.

DIY System 2: Upcycled Plastic Bottle Cloches

For those who love to recycle and repurpose materials, this next method is a gem:

Materials:

1. Plastic bottles (preferably large ones)
2. Straw
3. Cutter or sharp knife

Instructions:

1. Cut the bottoms off large plastic bottles to create dome-shaped cloches.
2. Position these cloches over delicate plants in your garden. The transparent plastic traps heat during the day and provide insulation against frost at night.

Why You Should Try It:

It’s a fantastic way to repurpose plastic bottles while protecting individual plants from frost damage. Best of all, it’s essentially free if you have these materials lying around.

DIY System 3: Fleece Wrap with Natural Supports

Lastly, for a more traditional approach using natural materials:

Materials:

1. Fleece strips or an old fleece sheet
2. Straw or similar natural support
3. Old jute rope or twine

Instructions:

1. Cut fleece into strips and wrap around individual plants or small groups.
2. Use straw or old jute rope to tie the fleece in place, creating a snug yet breathable cover.

Why You Should Try It:

This method is incredibly eco-friendly, using materials that might otherwise go to waste. It’s also versatile and adaptable to various plant sizes and shapes.

Protecting your plants from frost doesn’t have to be complicated or costly. With these DIY solutions, you can safeguard your garden while practicing creativity and sustainability. Whether you opt for the elegance of garden bed arches, the resourcefulness of plastic bottle cloches, or the simplicity of fleece wraps, each method offers effective protection and a chance to nurture your green space through unpredictable weather.

Give these DIY plant protection methods a try and let me know how they work for you.

Happy gardening!

Family-Friendly Hasselback Potatoes: Quick and Easy Recipe in 30 Minutes

Family-Friendly Hasselback Potatoes: Quick and Easy Recipe in 30 Minutes

Is it just me, or do potatoes have a magical way of making any meal better? Growing them in our garden has been one of the most enjoyable experiences. While harvesting them is incredibly fulfilling because you know you’ve grown them from tiny sprouts to plump, tasty potatoes. Over the years, I’ve tried many potato recipes, but one stands out for its simplicity and flavor! Yes, I’m talking about Hasselback potatoes.

The beauty of Hasselback potatoes comes from their simplicity. You don’t need to stress over them; all you need are a few basic ingredients and some oven time to create a delicious dish.

Hasselback Potatoes Recipe

Ingredients:

  • 1 kg heirloom potatoes (or any organic potatoes)
  • 1 garlic head
  • Mixed herbs (I used sage, chives, rosemary, and parsley from the garden)
  • Salt and pepper to taste
  • Olive oil

Instructions:

  1. Preheat your oven to 180°C (350°F) to ensure that your potatoes are cooked evenly and form a gorgeous golden crust.
  2. Wash the potatoes thoroughly. If you use heirloom potatoes, their unique shapes and colors will give a nice flavor to the dish. Slice the potatoes thinly, but avoid cutting all the way through. You want to make a series of thin, fan-shaped slices that connect at the base.
  3. Arrange the potatoes on a baking pan. Peel and smash the garlic head, then place the garlic pieces between the potato slices. This will give the potatoes a deep, aromatic flavor as they bake. Sprinkle your mixed herbs generously over the potatoes.
  4. Drizzle olive oil over the potatoes, making sure they are thoroughly coated. The olive oil allows the potatoes to crisp up wonderfully in the oven. Season with salt and pepper to taste.
  5. Place the baking sheet in the preheated oven for approximately 30 minutes, or until the potatoes are soft on the inside and crispy on the outside. You’ll know they’re done when the edges curl and get golden brown.
  6. After removing from the oven, allow the potatoes to cool for a few minutes before serving. These Hasselback potatoes are ideal as a side dish or as a main meal when served with a hearty salad.

Why You Should Try Hasselback Potatoes

  1. Bursting with Flavor: Each slice is infused with garlic and fresh herbs, ensuring that every bite is full of flavor. Olive oil gives a rich, savory flavor to these potatoes, making them appealing.
  2. Simple and Elegant: Despite their beautiful appearance, Hasselback potatoes are really straightforward to prepare. They give a touch of depth to any meal, making them ideal for dinner parties or a relaxing night in.
  3. Versatile: You may customize the seasoning to your preferences. Add a bit of paprika for a smokey flavor, or grated plant-based cheese for an extra layer of richness.
  4. Healthy and Wholesome: Using organic or heirloom potatoes provides high-quality produce. Also, baking the potatoes in olive oil rather than frying them makes the dish lighter and healthier.
  5. Garden Fresh: If you have an herb garden, this dish is an excellent way to use fresh herbs. There is nothing quite like the flavor of local ingredients.

And there you have it: Hasselback potatoes! Serve them hot with a side of plant-based mayo to dip (This is a separate blog about plant-based mayo). The creamy mayo pairs nicely with the crunchy potatoes, making for an amazing flavor combination.

So why not try Hasselback Potatoes at home? They’re simple to prepare, look great, and taste delicious. You will be able to fully appreciate the delicious flavors of your garden-grown potatoes!

Happy cooking!

Learn How To Craft DIY Candles using Flowers and Essential Oils

Learn How To Craft DIY Candles using Flowers and Essential Oils

Did you know that you can make 100% natural candles using herbs and dried flowers? When I’m home in the evening I love to use candles to create a nice cozy atmosphere and relax. However, store-bought candles contain a lot of chemicals and that’s why I decided to make my own, using herbs and flowers from my garden.

Ingredients and Step-by-Step Procedure

Ingredients for 2 candles:

  • 4 x Cups soy Flakes or beeswax
  • 2 x Wicks with metal base
  • 20/30 drops Essential Oil (I used thyme & cedar wood)
  • Dry lavender flowers
  • Dry orange slices
  • 2 x glass or metal jars
  • 1 x Skewer or chopstick to mix

How To Make Your DIY Candles:

  1. Melt soil wax using a double boiler and heat gently.
  2. Pour your vegetable oil into a small cup or container
  3. Cut the cotton string and wick it with a metal base
  4. Secure the string and soak it with vegetable oil
  5. Set to dry and once dried, skewer to hold the shape
  6. Dip the metal base into the melted wax and secure it inside your jar
  7. Pour melted wax and add 20/30 drops of essential oils
  8. Add dry lavender flowers and dry orange slices inside the jar and leave it to set
  9. Allow the candle to cool and harden completely. (This can take several hours.) Trim the wick to about 1/4 inch before lighting and enjoy

    Why Make Your Own Candles?

    Before we dive into the step-by-step process, let’s explore the benefits of making your own candles.

    Natural Ingredients: Commercial candles often contain paraffin, a petroleum byproduct, and artificial fragrances that can release harmful toxins when burned. By making your own candles, you control the ingredients, opting for natural waxes like soy or beeswax and pure essential oils.

    Customization: Create candles that are uniquely yours. Choose your favorite flowers, blend essential oils to create a signature scent, and select the perfect container that matches your decor or serves as a thoughtful gift.

    Cost-Effective: DIY candles can be more economical in the long run. Once you have the basic supplies, the cost per candle decreases significantly, allowing you to indulge in your candle-making hobby without breaking the bank.

    Eco-Friendly: Use reusable containers and sustainable materials to reduce waste. Plus, repurposing old jars and incorporating dried flowers from your garden gives new life to items that might otherwise be discarded.

    Therapeutic: The process of making candles can be incredibly relaxing. The act of melting wax, mixing scents, and arranging flowers can be a meditative experience, providing a creative outlet and reducing stress.

    Additional Tips

    1. Balance the Scents: You can start with a small number of essential oil drops and adjust to your preference. Also, too much oil can affect the burning quality.
    2. Flower Placement: Avoid adding too many dry flowers as they can act as a secondary wick and affect how your candle burns.
    3. Safety First: Lighting up your DIY candle is fun but always monitor your candles when burning, and keep them away from flammable objects.

    Creating DIY candles is an enjoyable experience and a great bonding between family and friends. You can experiment with which herbs and flowers suit your smell and play around with different oils. This is also an amazing eco-friendly gift for any occasion.

    Try it and have fun!

    0
      0
      Your Cart
      Your cart is emptyReturn to Shop