 COLOR2")
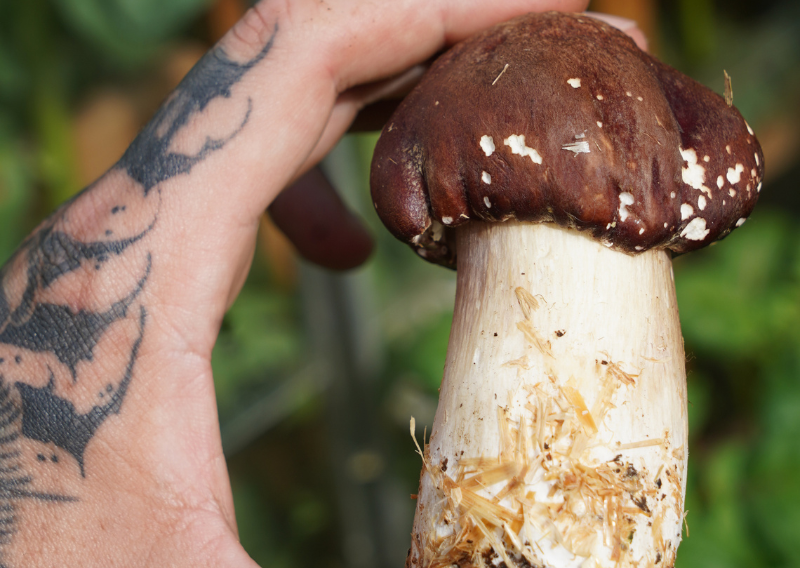
How to Grow Mushrooms in Your Garden: Simple and Effective Methods
I’ve been growing mushrooms in the garden for the past few years and I can’t stop recommending to everyone to give it a go! Growing mushrooms in your garden it’s not only beneficial for food production but it also benefits your plants by creating symbiotic relationships. Mushrooms help break down organic material, enriching the soil and making nutrients more available to your plants. They also taste delicious and have loads of health benefits.
Now, let’s dive deep into 3 effective and simple ways to grow mushrooms in your garden.

")
Mushroom In Logs
- 1 Oak log
- 1 Bag of shiitake dowels
- Drill and 8 mm drill bit
- Hammer
- Soy wax and brush
Steps:
- Drill holes into the log every 10 cm (about 4 inches) apart.
- Place a mushroom dowel in each hole and gently tap it in with the hammer until it’s flush with the surface.
- Melt some soy wax over low heat and use a brush to seal each hole. This helps keep moisture in and contaminants out.
Note: Oak is preferred due to its density and nutrient profile, but other hardwoods can work too. Also, please remember to place your log in a shady spot and keep it moist. In about 6-12 months, you’ll start seeing shiitake mushrooms sprouting from your log. It’s a beautiful process to watch!
Mushrooms in Raised Beds
- Straw or woodchips
- Wine cap spawn
Steps:
- Alternate layers of straw or woodchips with layers of mycelium (the mushroom spawn). Start with a base layer of straw or woodchips, then a layer of spawn, and repeat until you reach the top of the bed.
- Keep the bed well-moist, as mushrooms thrive in moist conditions.
Note: Wine cap mushrooms can grow alongside your other plants, creating a symbiotic relationship that benefits the entire bed. They help break down the straw and woodchips, enriching the soil and supporting plant growth.
Reusing Old Mushroom Blocks
If you’ve grown mushrooms before and have old mushroom blocks lying around, don’t throw them away! You can give them new life and possibly get another flush of mushrooms.
- 1 Old mushroom block
- Straw
Steps:
- Break your old mushroom block into small pieces.
- In a new bed or container, alternate layers of straw with the crumbled mushroom blocks.
- Keep everything well-moist to encourage new growth.
The Health Benefits of Mushrooms
Mushrooms will boost your health. Here are some of its benefit
1. Nutrient-Rich: Mushrooms are low in calories but high in essential nutrients like vitamins B and D, selenium, and potassium.
2. Immune Support: They contain beta-glucans, which can enhance your immune system.
3. Antioxidant Power: Mushrooms are packed with antioxidants, which help protect your cells from damage.
4. Gut Health: The fiber in mushrooms supports a healthy digestive system.
Growing mushrooms in your yard is an enjoyable, sustainable, and healthy activity. Whether you grow them on logs, raised beds, or repurposed old blocks, you’ll be adding an important element to your gardening experience. Plus, the health benefits they provide make them a great addition for your diet.
Start small, and you’ll soon be reaping the fruits (or should I say fungi?) of your efforts. Happy gardening!


")


")
")


